Step 1
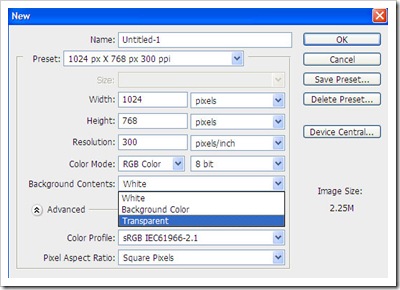
Open Photoshop and make a new document with a transparent background.
Step 2
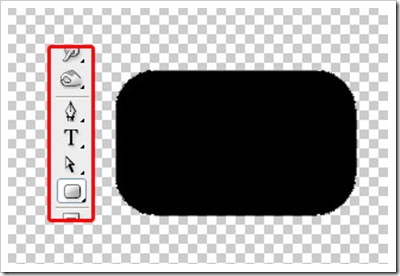
Choose the rounded rectangle tool from the tool box and set the radius to 50 pixels. Draw a rectangle on the document – it doesn’t matter how big you make it.
Step 3
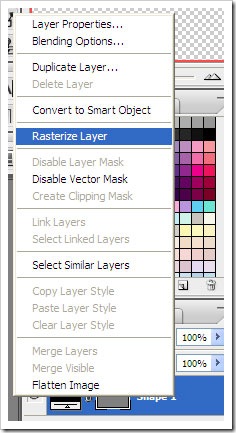
Right click on the layer of the rectangle in the Layer Palette and select Rasterize Layer. This will make the shape raster and we can turn it into a brush.
Step 4
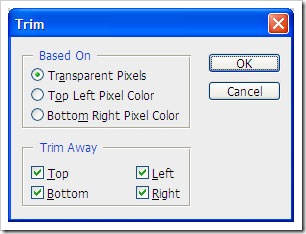
Go to Image > Trim and select Based on “Transparent Pixels” and tick top, bottom, left and right. Select okay, this removes all the space that isn’t used.
Step 5
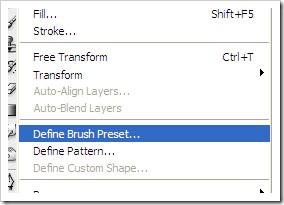
Next go to Edit > Define Brush preset > this will bring up a dialog asking you for a name enter Confetti temp.
Step 6
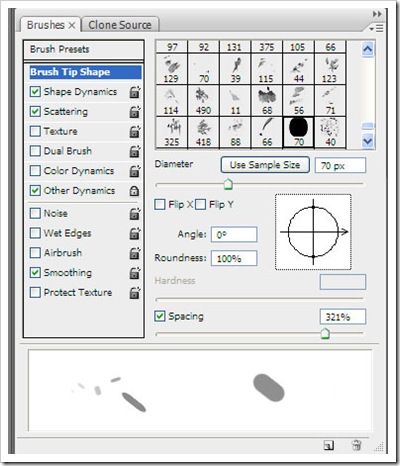
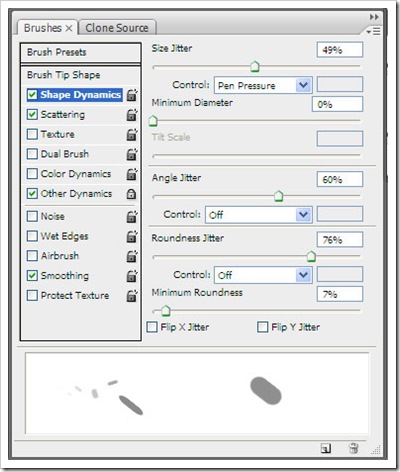
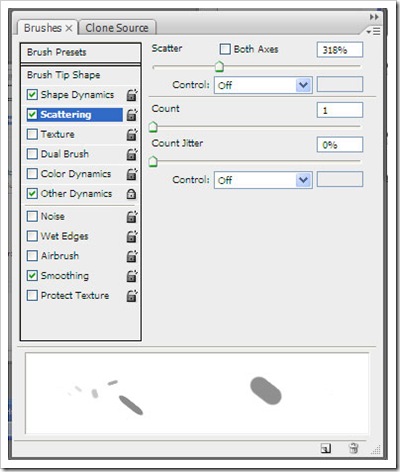
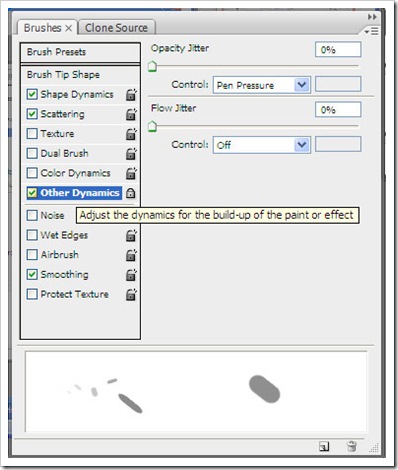
Select the brush tool from the tool box and press F5 on your keyboard. This will bring up the brush dialog box.
Adjust the settings so they look like this…
Step 7
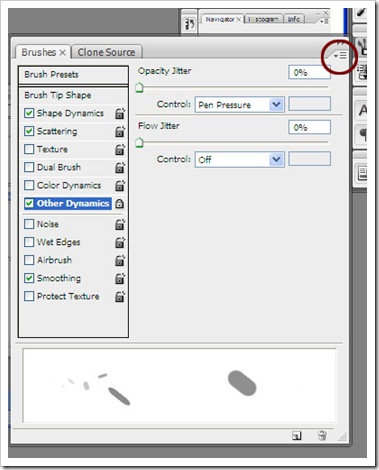
Next click the little arrow on the top right of the brush dialog
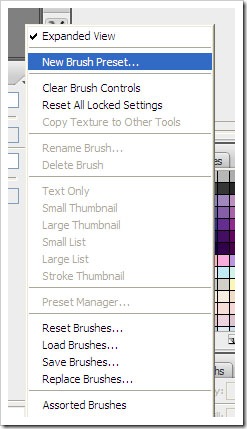
And select new brush preset – enter Confetti
You can now delete confetti temp
Step 8
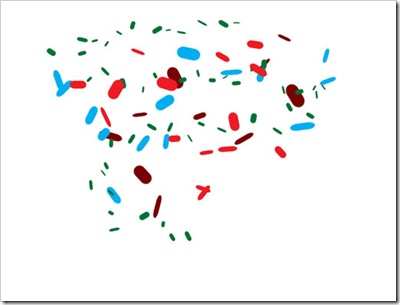
Now make a new document with a white background and using the new brush make some random patterns.
Step 9
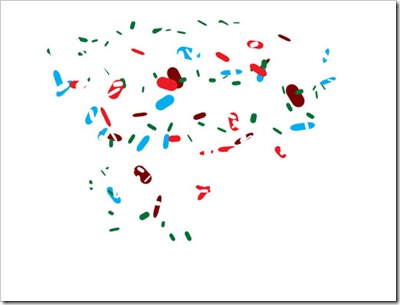
Next change the brush’s blending mode to Clear (in the options bar) and reduce the brushes size. Now go over the patterns with the brush this will delete parts of the confetti making it more random.
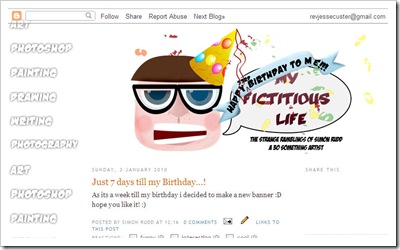
I used this technique on my blog…
(http://afictitiouslife.blogspot.com/)
Download the brush here - http://rev-jesse-c-stock.deviantart.com/art/Confetti-brush-149156898
Follow me on twitter @revjesse
My website – http://www.simonrudd.info
© Simon Rudd 2010



No comments:
Post a Comment