When you make a good picture you should really get in the habit of signing it, this has the advantage of getting your name out there and also letting people know its your work. Now signing using Photoshop can be tricky – you can use a scanned copy of your sig or scrawl one using a tablet / brush tool. But you can also set up your signature as a brush or custom shape.
Step 1
Open Photoshop and make a new 1024x768 document with a ppi of 300, Set the background Layer to white. Next make a new transparent Layer above the background Layer.
Step 2
For Scanned Signatures
If you don't have a tablet and want to use a scanner then sign your name on a white bit of paper and scan it into Photoshop. Download this Photoshop Action http://wallstorm.deviantart.com/art/Ultimate-Lineart-Lifting-29662490 and use it to lift the signature from its background. This will then transplant the line art / signature to a new Layer. Now go to Step 4
Step 3
For Photoshop Signatures
If you are using Photoshop to sign your name then choose a hard edge brush from the brush picker and on the transparent Layer Sign away. Once your happy with the signature you can lift it from its background using the magic wand tool.
Step 4
Choose the wand tool from the Tool Box, untick the contiguous tick box and click on an area that does not contain your signature, Photoshop will then select everything but your signature, we then simply invert the selection (Select > Inverse) to select the signature. We can also select the signature by Holding Control and Clicking on the Layer containing the signature in the Layer Palette.
Step 5
Next we with the Magic Wand Tool still active right click on the selection and choose “Make Work Path” from the menu.
Then set tolerance to 2 pixels
Finally hide the signature layer we just created.
Step 6
We should now have a nice path ready made for us of our signature.
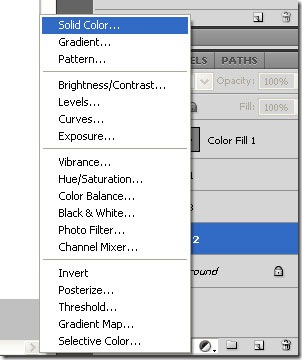
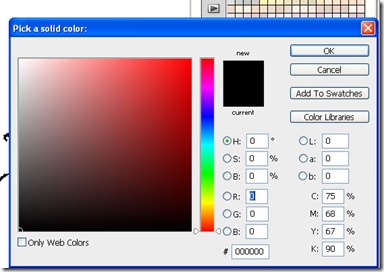
Now fill this using a colour fill Adjustment Layer, to do this we choose the Create New Fill or Adjustment Layer from the Layer palette, this is the 4th icon along at the bottom of the Layer Palette. Choose any colour you wish (other than white).
Step 7
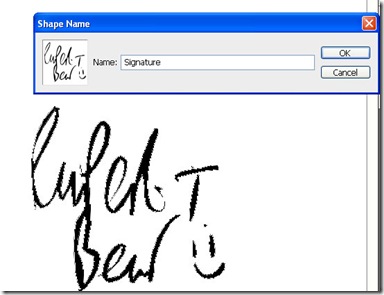
With the new path created – we can then make a custom shape out of it – Select the Solid Colours mask and then choose Edit > Define Custom Shape.
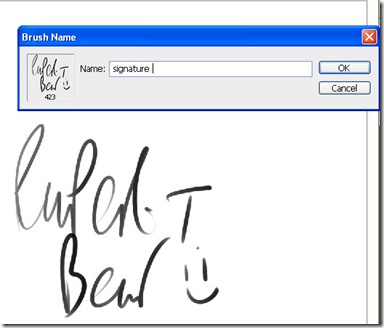
You can also define the signature we lifted as line art as a brush, but selecting the layer and going to Edit > Define Brush
Now if you want to sign your name you can choose the Custom Shape tool and navigate to your signature, then just drag one out into your picture :)
Hope you enjoyed this tutorial, please feel free to find me on twitter @revjesse or visit my website http://www.simonrudd.info :)
This can also be found at http://www.tipsquirrel.com/index.php/2010/07/make-a-custom-shape-of-your-signature-in-photoshop/ :)










No comments:
Post a Comment