Tuesday 30 November 2010
Sunday 28 November 2010
Wednesday 24 November 2010
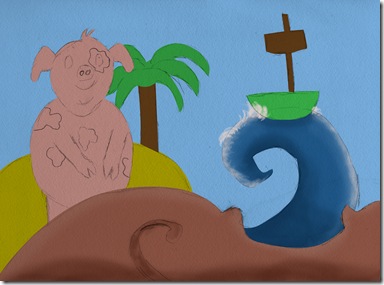
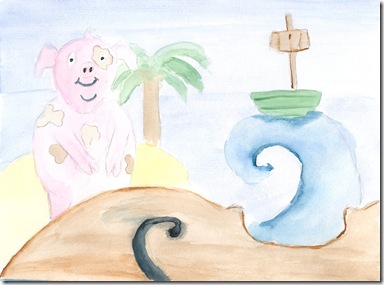
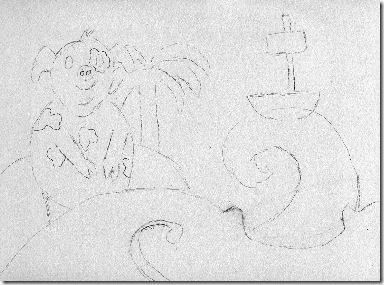
Piggy…!
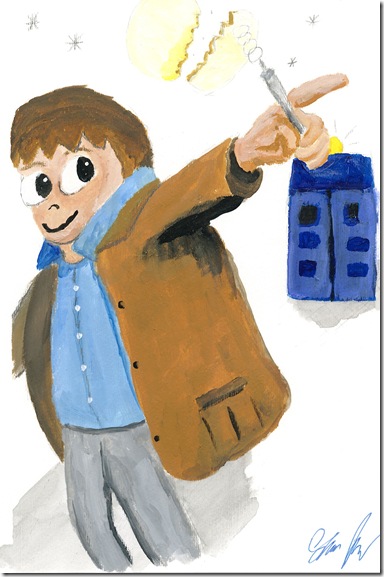
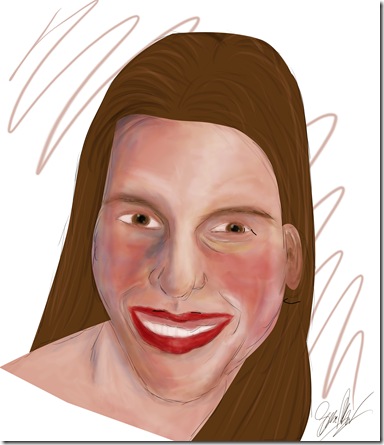
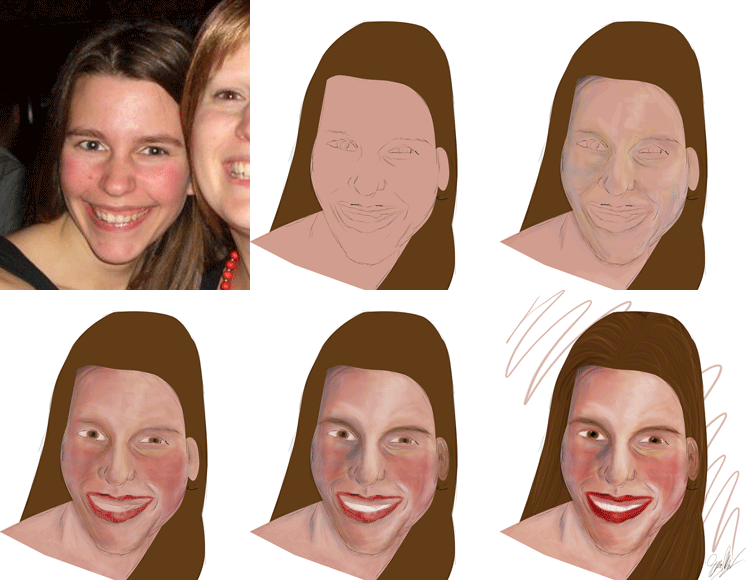
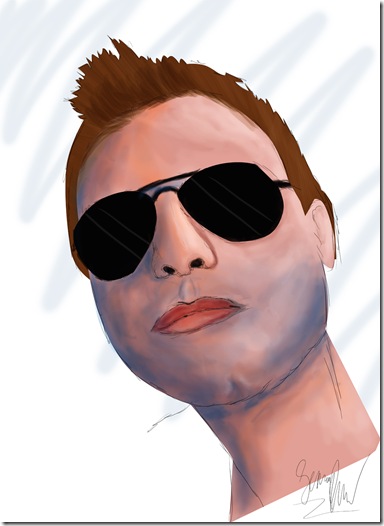
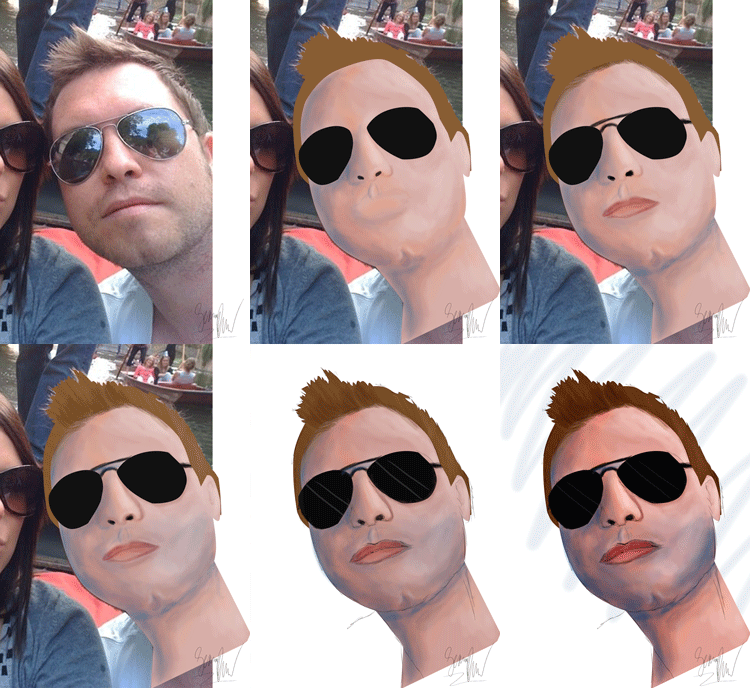
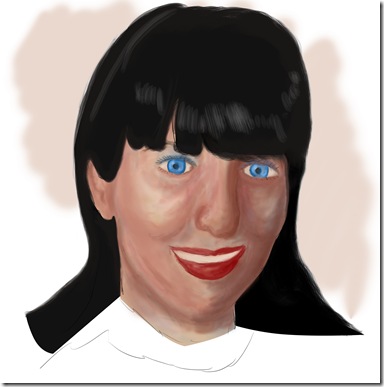
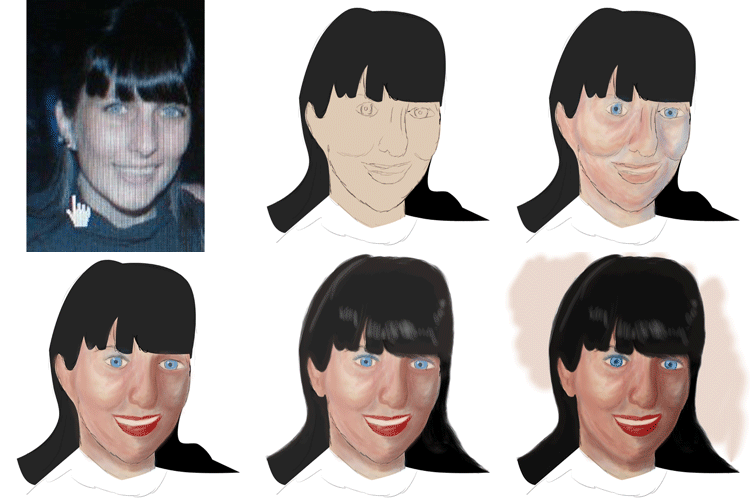
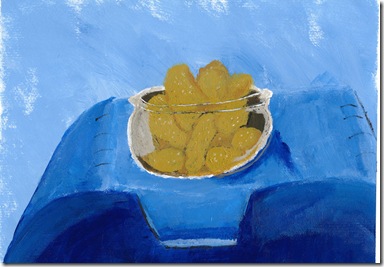
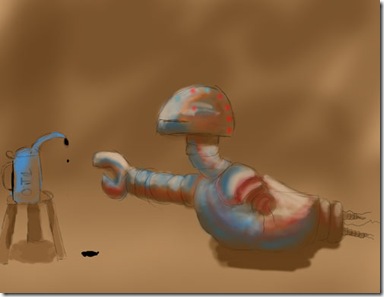
I’ve not had a lot of time for actual paint work today – so I’ve decided to paint a bit digitally – hopefully i will do both in the end but digital will be faster. Also my water colour was mentioned by Stevyn Colgan on his blog http://toatp.blogspot.com/ :)
Monday 22 November 2010
Saturday 20 November 2010
Friday 19 November 2010
Thursday 11 November 2010
Wednesday 10 November 2010
Tuesday 9 November 2010
Thursday 4 November 2010
Wednesday 3 November 2010
Exploding text (well sort of)
I'd like to continue my TS tutorials with a text effect I like, its fairly simple but looks effective.
Step 1.
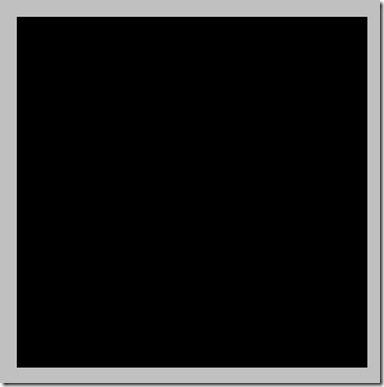
We start by making a 1000x1000 pixel document – we have to have a square canvas because one of the later steps will scream and cry if we don't. Also set the background to black.
Step 2.
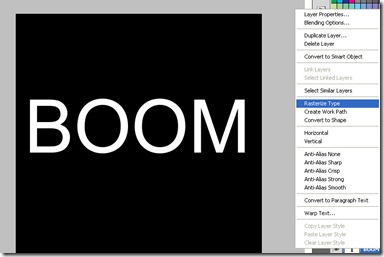
Set your foreground colour to white and select the Text Tool, using the Arial font Write “BOOM” On your canvas. In the Layer Palette right click the Text Layer and select Rasterize Type, this will change the text into a Raster Layer so we can use filters on it.
Step 3.
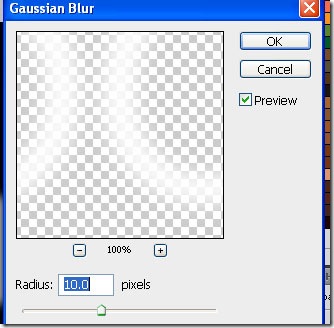
We now want to blur the Text, so go to Filter > Blur > Gaussian Blur and set the blur to 10 pixels.
Step 4.
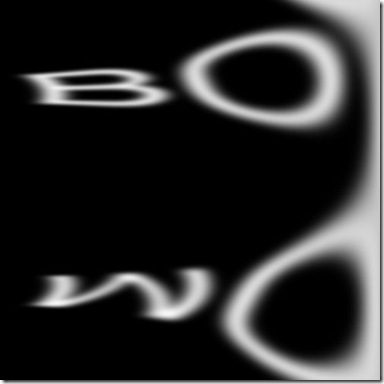
Next select Filter > Distort > Polar Coordinates setting the option to Polar to Rectangle. Follow this by rotating the Image 90 degrees clock wise (Image > Image Rotation 90 CW).
Step 5.
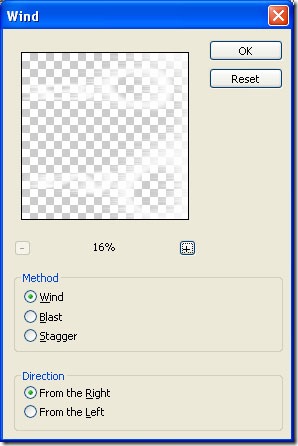
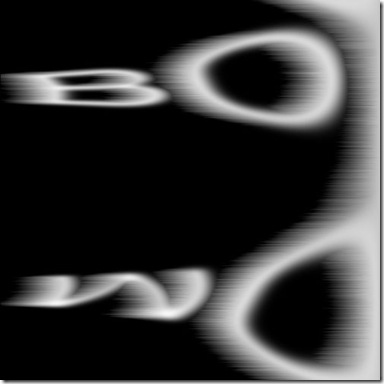
Go to Filter > Stylize > Wind and set the Method to Wind, also direction from Right.
Step 6.
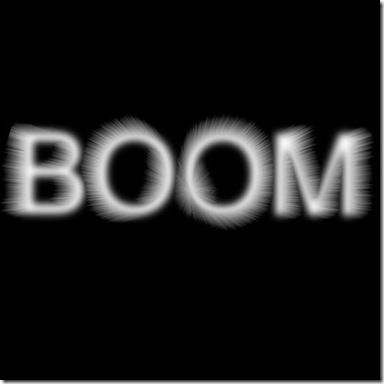
Now we want to reverse a couple of our steps – first we want to rotate the image 90 degrees Counter Clock Wise (Image > Image Rotation 90 CCW). Then we want to use the Polar Coordinates Filter again – but use Rectangle to Polar.
Step 7.
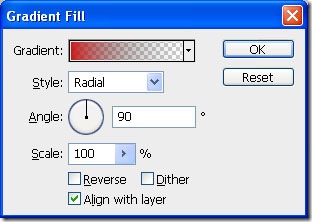
With that done we add a Gradient Adjustment Layer, I chose the foreground to transparent gradient and set my foreground colour to Red. I also set the Gradient type to Radial, finally I set the Blending Mode to Overlay.
Step 8.
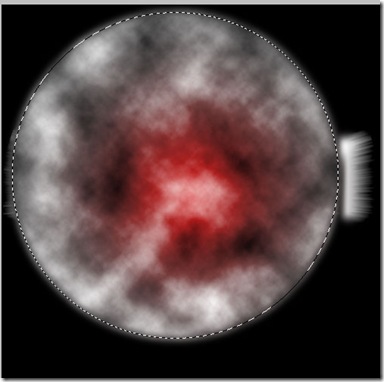
Under the Gradient Adjustment Layer Make a new Layer called Smoke, Using the Elliptical Marquee Tool draw out a large Circle. Fill this Selection with Clouds – Filter > Render > Clouds. Next with the Selection still in place – blur the Selection as in step 3.
Step 9.
Add a Layer Mask to the Smoke Layer and select the Gradient Tool and choose the Radial Gradient from the options, Set your Foreground colour to white and your background to black. Next on the Layer Mask Pull out a gradient from the centre of the circle to the outside – this will mask some of the “Smoke” leaving some at the centre :D
Find Me on Twitter at @revjesse or visit my website at http://www.simonrudd.info
